Friendly Monster Halloween Name Craft
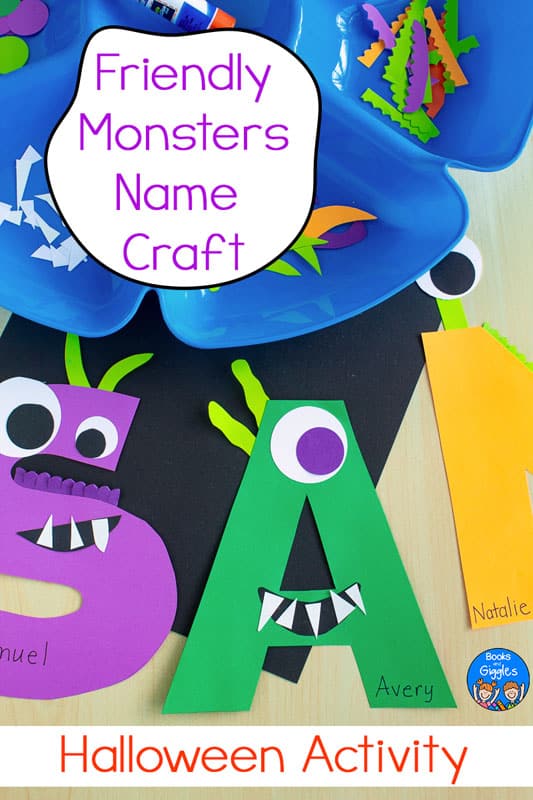
This Halloween name craft for preschool uses simple materials that you probably already have on hand – so it’s basically free! It focuses solely on the first letter of each child’s name, so it’s perfect for littles early in their learning path.
Teaching children about the first letter in their name is a super relevant way to start working on letter recognition (and later teach children to write their names). I mean, what’s more interesting than your very own name?!
Add in some not-scary monsters, and you’ll certainly have their attention!
You could start this name craft activity by reading aloud one of Ed Emberley’s colorful monster books, or sharing The Gruffalo or another favorite. You can also just use it as part of your Halloween activities.
Halloween Name Craft
Rather than prescribing a certain way that this craft has to look, I suggest that you set it up as a center or an invitation to create.
Give every child “their” letter (the first letter of their name) to decorate. You can write their whole name onto the craft for them, or let them write it themselves if they can.

Materials
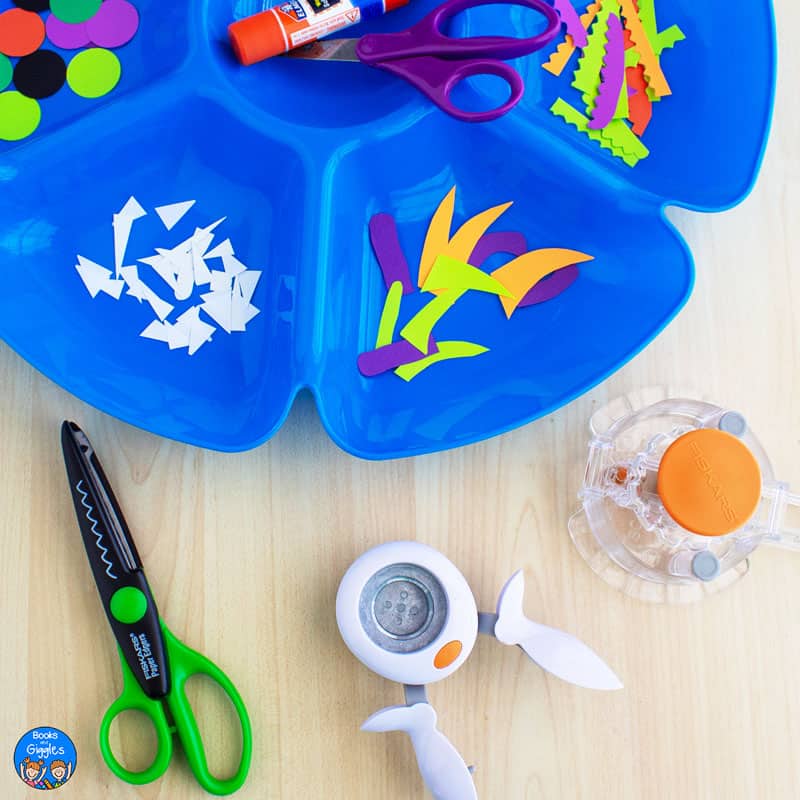
This is an open-ended craft. You will just prep the materials and let your preschoolers make their own monster letters however they see fit. Here’s what you’ll need:
- Colored paper (I used Halloween colors: orange, black, purple, green)
- White paper
- Scissors
- Glue stick
- Tray with compartments, or alternately 6-8 small containers
- Optional: Circle punches in several sizes
- Optional: Decorative edge scissors
- Black marker or felt tip pen
Preparation
Depending on your students’ fine motor skills, you’ll want to prepare more or less of this ahead of time.
- Cut out the first letter of each child’s name. Save the scraps. (Letters should be at least 5 inches tall, or as big as you can fit on a sheet of letter paper.)
- Cut out from black paper:
- mouths
- smaller eye circles.
- Cut out or punch from white paper:
- little triangles for teeth
- larger circles for eyeballs
- Cut from your colored paper scraps:
- smaller eye circles
- antennae
- “fur” (I used decorative edge scissors for this)
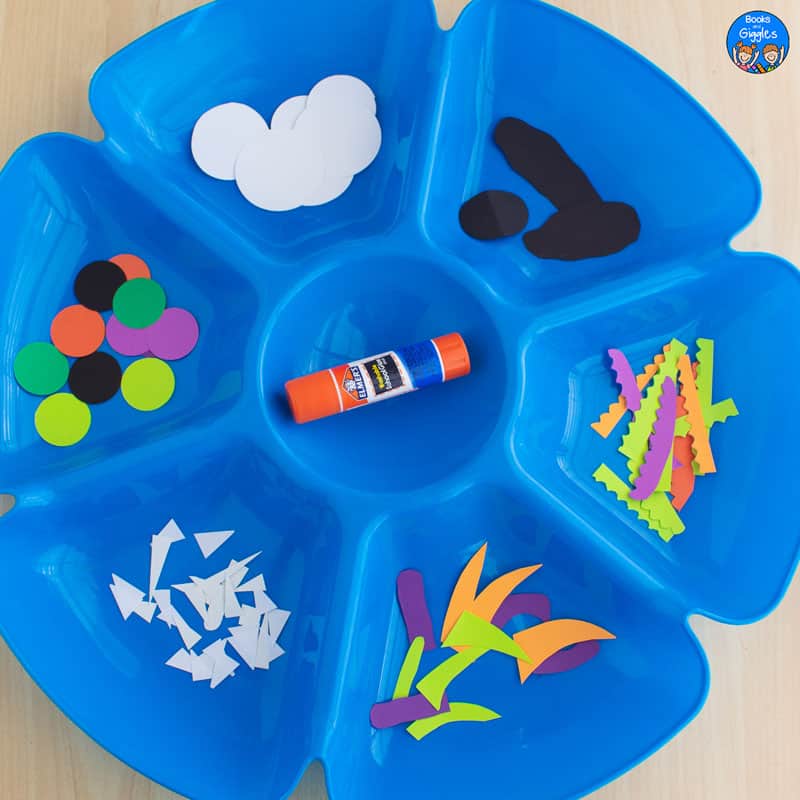
- Sort all the pieces into the compartments of your tray along with a glue stick.
How to Make the Monster Letters
You may want to make a few examples ahead of time so that your kids understand the possibilities.
They should start by choosing pieces and placing them on their letter without glue. Once they have decided on a plan, then they can glue each part down.
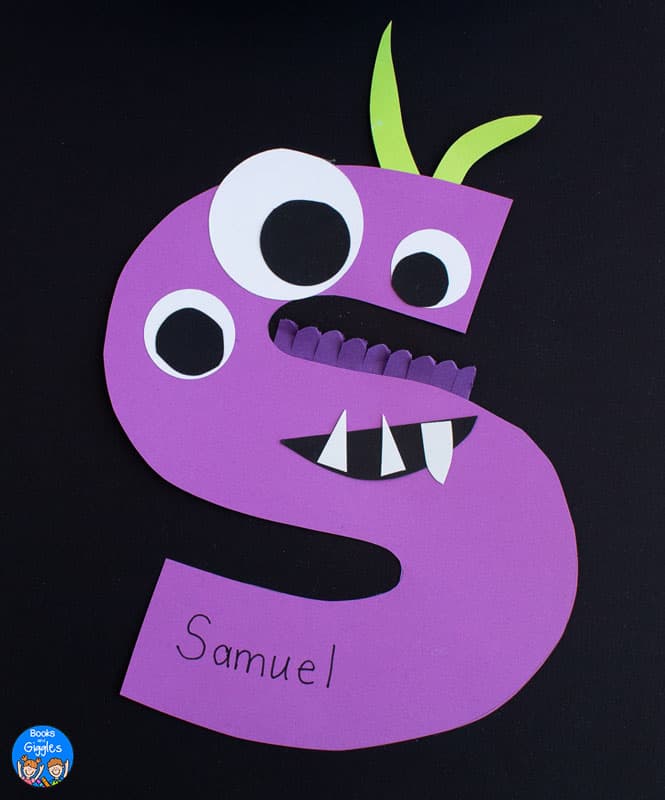
Here’s some inspiration for you. The letter S was just asking for 3 eyes:
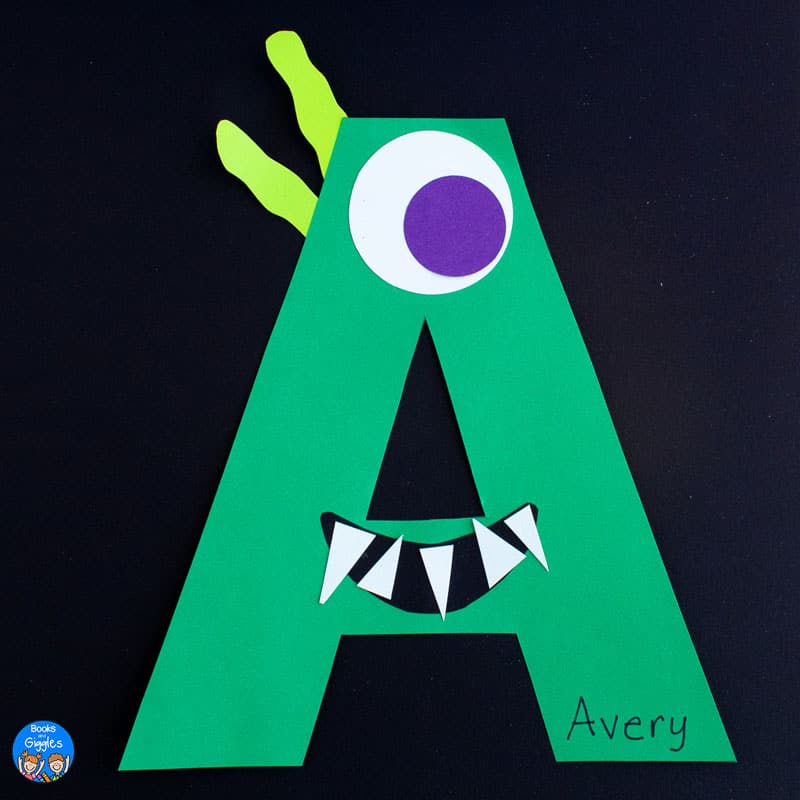
Definitely let your kiddos add as many eyes and teeth as they like. Or as few. Here’s my letter A, looking cute with just one purple eyeball:
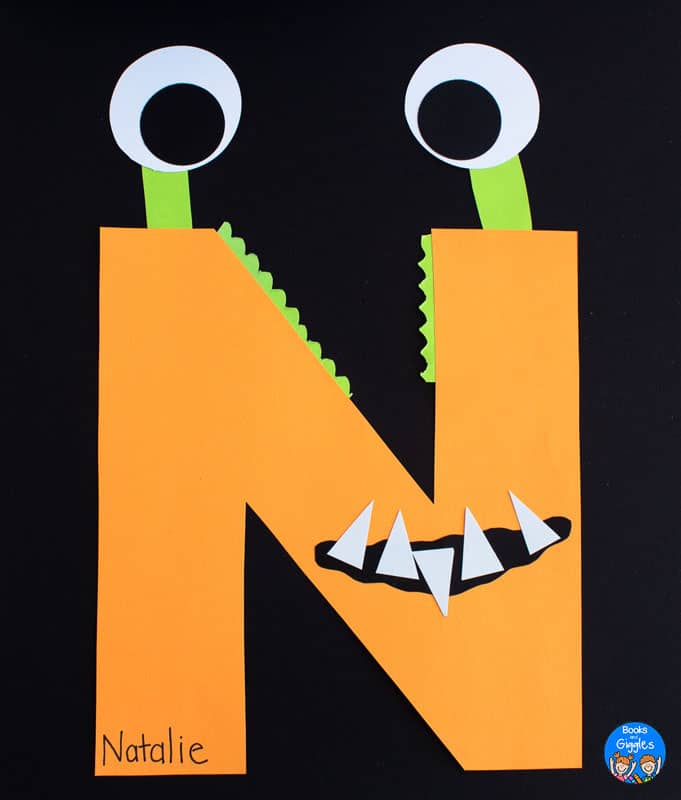
They can even stick the eyes up on top of antennae, like I did with this letter N:
Once they’re done gluing, write their whole name on an empty spot. (You may need to tell them ahead of time to leave some space for this!)
I’d love to see your adorable classroom monster displays and bulletin boards!
More Monster Activities
My October Name Activities and Worksheets set includes a fun little monster game. Children “feed” the monster the cookies that have their name spelled wrong or have a nonsense word on them. They keep the cookies that have their name spelled correctly. It’s an engaging activity for practicing letter discrimination and name recognition.

If you’re looking for a monster-themed math activity to go with this, I love the Build a Monster game from The Primary Parade – and I bet your littles will too.
Happy Teaching,
Heather

I would like a copy of the Friendly Monster Name Craft.
Hi Cassandra,
This isn’t a printable craft. Just follow the directions with your own supplies. Were you maybe interested in the “feed the monster” name activity shown at the end of hte post? That is part of the my October Name Activities in my store. I hope that helps!
-Heather