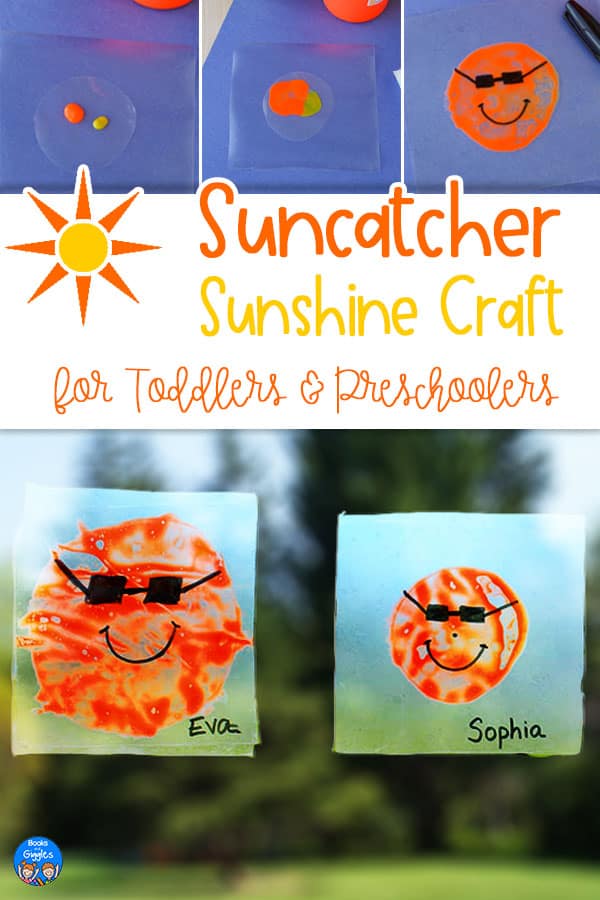
Sun Suncatcher Craft for Toddlers & Preschoolers

Inside: This sun suncatcher craft for kids has an element of sensory play to it. Plus, it looks bright and pretty in your window!

These cute sun crafts are sure to add a little sunshine to your windows. Even better, children can continue to play with them even after they’re on display.
To make your activity more educational, you can read aloud some children’s books about the sun, talk about color mixing, and about circles, squares, and rectangles.
This sun suncatcher craft does take some adult prep ahead of time. If you’re a teacher, I think you wouldn’t want to make these with more than about ten kids, unless you have help.
Most of the fun for littles is in playing with the craft once it’s finished. You may also get your preschoolers to draw some super cute sunglasses and smiles!
Sun Suncatcher Craft
The basic idea here is to seal up washable tempera paint inside layers of plastic and clear contact paper. Then the kids can mix the colors together and draw on sunglasses and a smile.
Materials
You’ll need the following:
- A quart or gallon size freezer weight zip-top bag
- Paper that fits in your bag
- Scissors
- Optional: circle cutter
- Yellow and fluorescent orange (or red) washable tempera paint
- Clear re-stickable contact paper
- Ruler or another straight edge to help seal the contact paper
- Black permanent marker
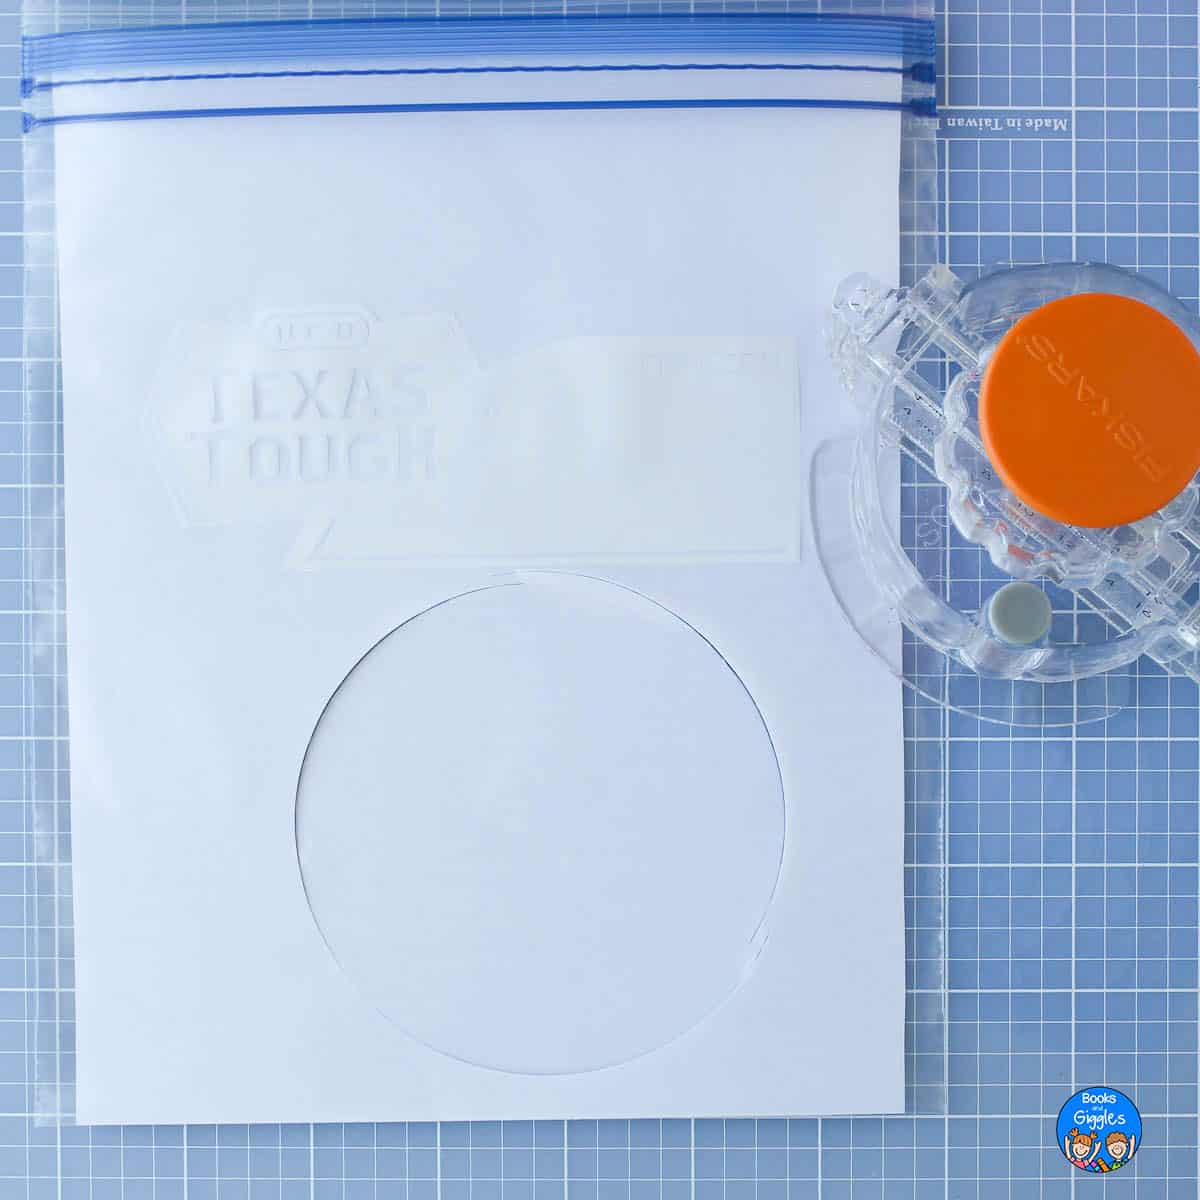
Preparation
- Insert paper into the plastic bag to stabilize it. Then, cut out a 3-inch diameter circle from both layers of plastic at once. This will give you two plastic circles.
- Next, cut out two 5-inch squares of contact paper. If it’s hard to see them on your table, then lay them on top of a sheet of construction paper or other dark paper.
- Now, trim off about 1/4 inch from just one side of one of the squares, and then remove the backing from it. Then, lay it down sticky side up. (Trimming allows you to have a sticky overhang for adhering your finished sun craft to the window.)

- Stick one of the plastic circles onto the middle of the square. Then, squeeze out a small dollop of orange paint and a smaller amount of yellow paint onto the circle.
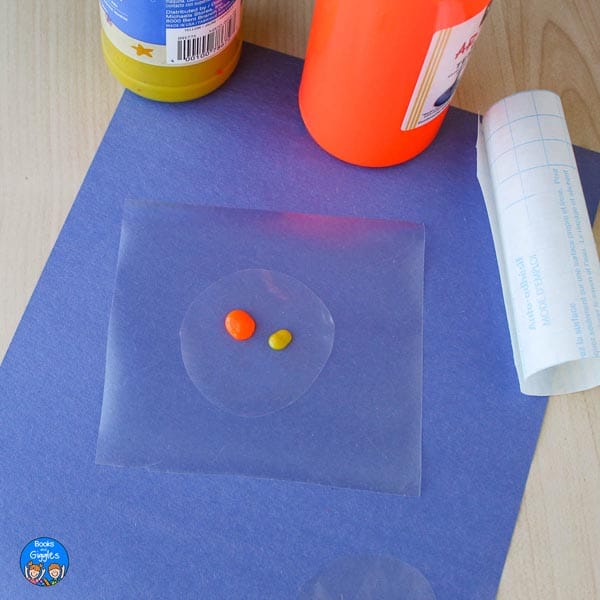
- Next, carefully place the matching plastic circle on top of the paint, lining it up with the first circle. Try not to mix the paint much yet.

- Finally – and this is the trickiest part – you’re going to seal the paint into just the sun area by adding a top layer of contact paper.
- Peel the backing off the second square of contact paper and prepare to lay it onto the craft, sticky side down.
- Start at one edge and get that sealed well before you cover the “sun”.
- Then, use a ruler or other straight edge to seal the two layers of contact paper to each other, but don’t run the ruler over the sun – just pull towards it from all directions.
You may have to do a couple of these before you get the technique down, but then it’s pretty easy.

Kids’ Craft Instructions
- Even toddlers can do this step: use your fingers to mix the paint that’s sealed up inside the sun craft.
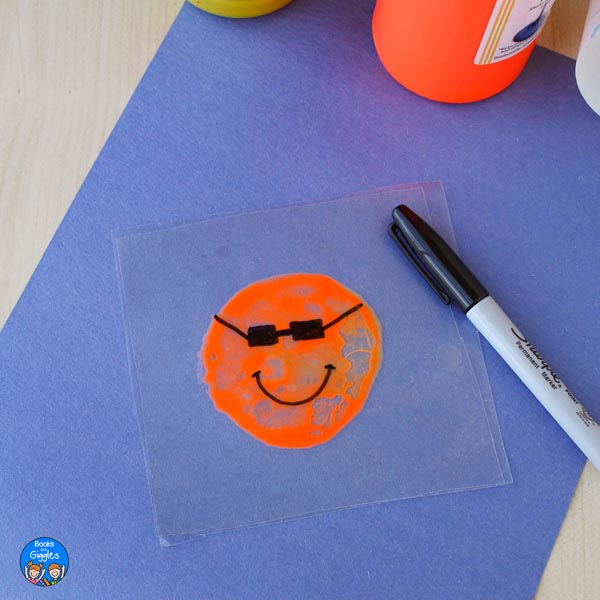
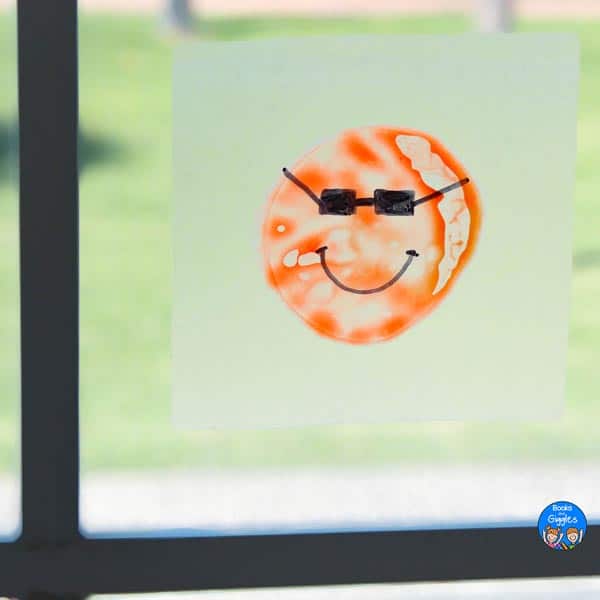
- Next, flip it over and make sure that the exposed sticky edge is facing down and at the top (note that it’s wrong in the picture below – I had to fix it before putting it up on the window).
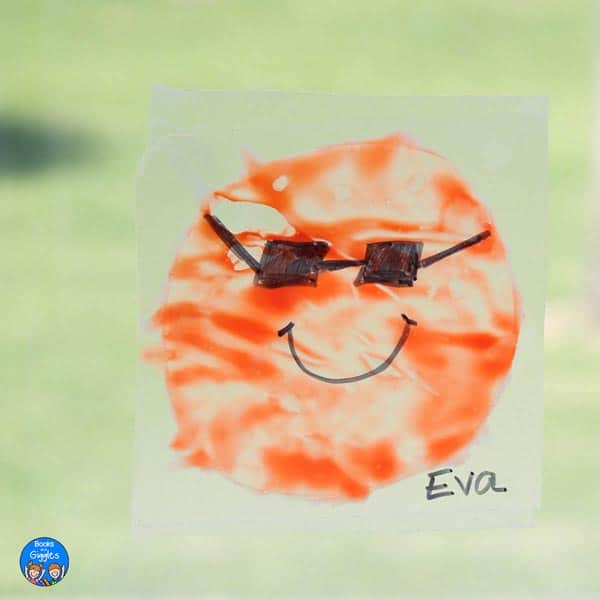
- Then, with a black permanent marker, draw on sunglasses and a smile. Let the ink dry briefly.
- Add the child’s name and stick it to a window that the child can reach. Kids can continue to mix and squish the sun as much as they like.
A Few Tips
I made a few different versions of this sun suncatcher as I was working out how to make it. Here are a few things that I learned:
- If you accidentally squirt out too much paint you can wipe it off the contact paper with a paper towel.
- It’s tempting to make a larger sun, but I found the sizes given here to be the easiest to work with. It was hard to manage the contact paper neatly when I tried a 4-inch sun with 6-inch contact paper.
- Try to use re-stickable contact paper so you can easily pull it back apart and fix it if you need to.
- My first attempt was kind of messy. Make sure you seal the contact paper well all the way around the circle of the sun and don’t skimp on how much border you leave.
(See how the paint is trying to get out the unsealed edges here? I should have allowed the air bubbles to stay over the sun area and just run my finger around just the outside of the circle before starting to mix the paint in the sun.)
- Use washable paint just in case it escapes the contact paper seal. Washable tempera also has a nice translucence that makes for a pretty suncatcher.
I’ve pulled these suncatchers back off our window and have them here on my desk as I write this post. I keep wanting to reach over squish them! I hope you and your littles enjoy playing with your sun crafts too.
Want to make another suncatcher? This hungry caterpillar suncatcher is another cute one to try.
Happy Crafting,
Heather