How to Make Crystal Letters: STEM + ABCs
We’ve been meaning to do a borax crystal project for a while now. I bought the borax, and it’s been staring at me from the pantry shelf ever since. Finally, we needed a fun rainy day activity, and decided to go for it!
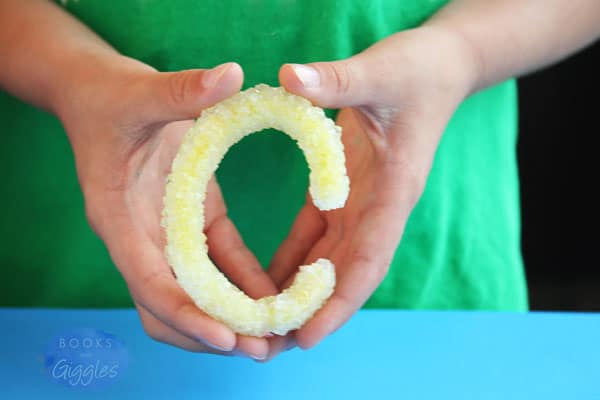
Borax Crystal Letters
I was thinking we’d make geodes like I’d seen several places on Pinterest. Liam had a different idea. As soon as I got out the pipe cleaners, he shaped his into the first letter of his name. Why not! So the girls made geode shapes, and Liam and I tried out letters.
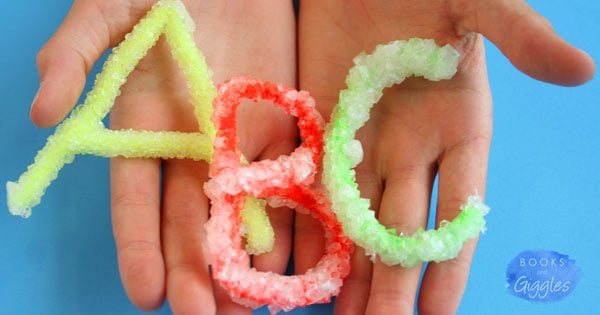
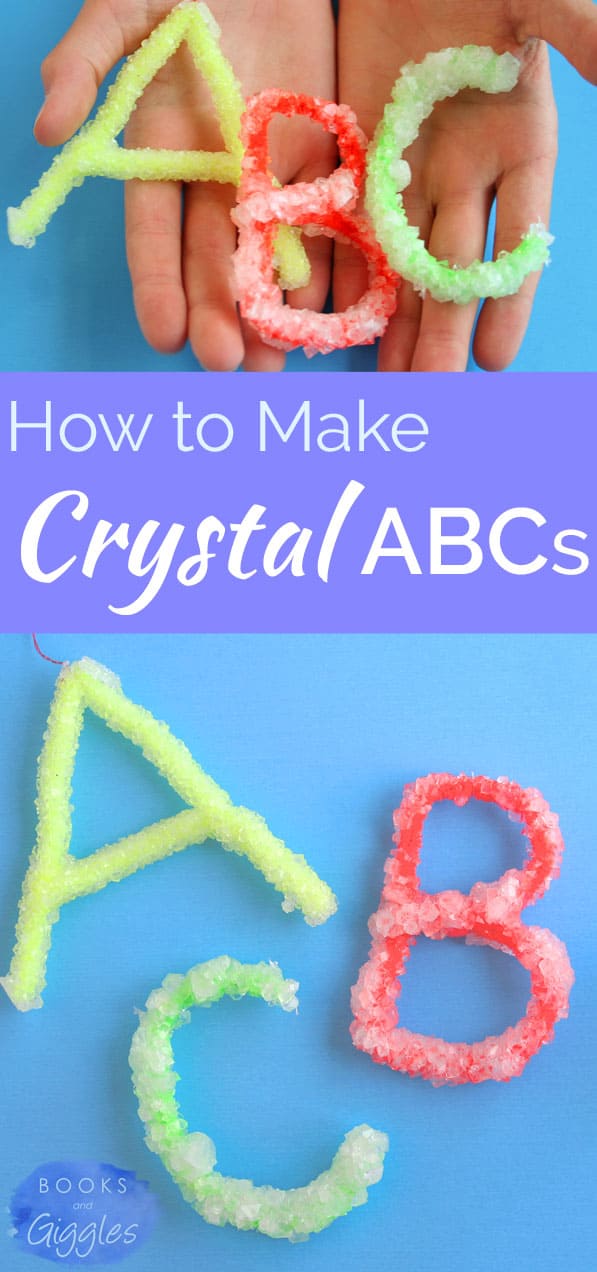
The results were worth the wait and the fuss.
We loved our borax crystal letters so much that we made more and more over the next several days. We learned that you don’t need food coloring if you use a brightly colored pipe cleaner. This is similar to the method used to grow rainbow crystals. We also learned that it’s important to make sure there’s plenty of solution surrounding the letter. We had to pry several off the bottom with a fork. Letters that didn’t have enough water above them in the solution were sparse near the top.
The kids love their letters, and I liked that we could also sneak in some learning.
The Science Behind Borax Crystal Creations
How does it work? The gist is simple. Borax is a crystal-shaped naturally occurring mineral. It gets ground up and sold as a laundry booster and cleaning agent. When you dissolve it in water, you help it re-form back into its natural state: crystals.
If you heat the water, you can dissolve even more borax into the water. Then, when the water cools, not as much borax can remain in solution. So it crystallizes onto whatever surfaces are available.
If you want more information that isn’t overly technical, this article has a really good explanation (towards the bottom).
(Disclosure: Books and Giggles is a participant in the Amazon Services LLC Associates Program, an affiliate advertising program designed to provide a means for sites to earn advertising fees by advertising and linking to Amazon.com.)
Materials
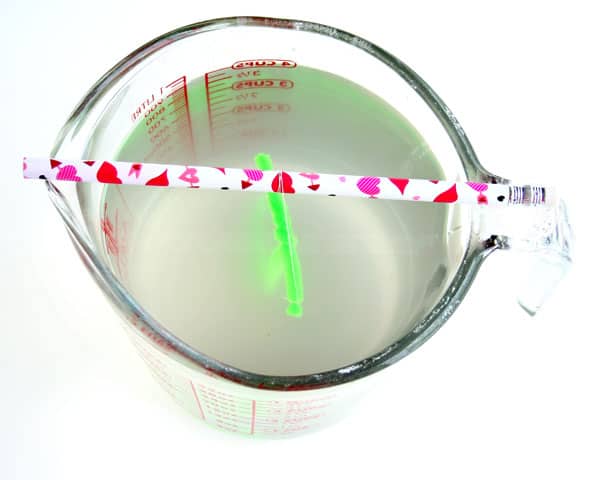
Take some care choosing a glass container. It should be tall enough that the pipe cleaner letters can hang vertically with room to spare. We used a full pipe cleaner for most of our letters, and hung them to crystallize in a 4-cup glass measuring cup.
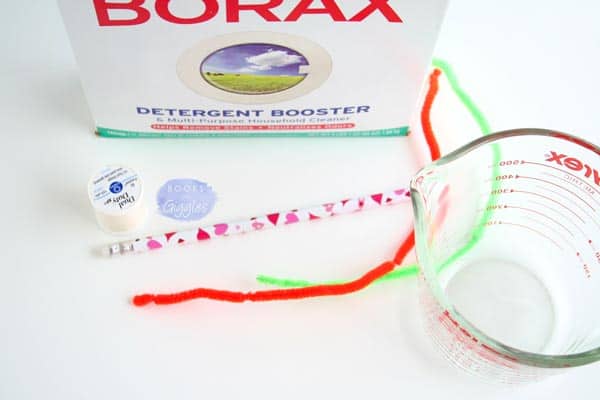
- Pipe cleaners (chenille stems) – we used neon colored ones
- Glass container
- Water
- Borax (affiliate) – I bought mine locally
- Spoon
- Pencil, craft stick or skewer
- Thread
- Scissors
- Microwave oven (or boil water on the stove and pour into the glass container)
- Paper towels
Instructions
Adult supervision is needed when working with boiling water and borax. It’s poisonous if ingested and also dangerous if it gets in eyes. So I wouldn’t make this if I had babies and toddlers around.
- Fill your glass container ¾ full of water, and put it in the microwave to boil.
- Form the pipe cleaners into letters. I wouldn’t plan to put more than two large letters into a 4-cup container.
- Tie thread around the top of each pipe cleaner letter. Then tie the other end around a pencil. If you know how to tie a clove hitch, that’s what I did. It worked well because it’s easy to adjust.
- Stir borax into boiling water a little bit at a time. Be extra cautious with the first few spoonfuls, as it may bubble up a bit.
- Continue stirring borax into the hot water until you can’t get any more to dissolve. Remember, you’re going for a super-saturated solution here. I think I used at least ½ cup, but I didn’t measure – so that’s just to give you a ballpark idea.
- Hang the pencil across the lip of the glass with the letter hanging down into the borax solution.

- Move the glass container to an out-of-the-way location where little hands won’t disturb it.
- Let sit for 6-8 hours, or overnight.
- Remove and lay to dry on a paper towel before handling.
You can re-use the solution to make more letters. Just pop it back in the microwave to boil, and all the crystals on the sides of the glass will re-dissolve. Then spoon in more borax to make up for what crystallized onto your first set of pipe cleaners.

What a fun way to mix science with alphabet learning.
How fun! The waiting is the hard part!
Yes, it definitely is. It’s nice to do as an early evening activity so they’re ready in the morning, or at home in the morning before an afternoon out and about.
Such a fun way to work on ABC’s!