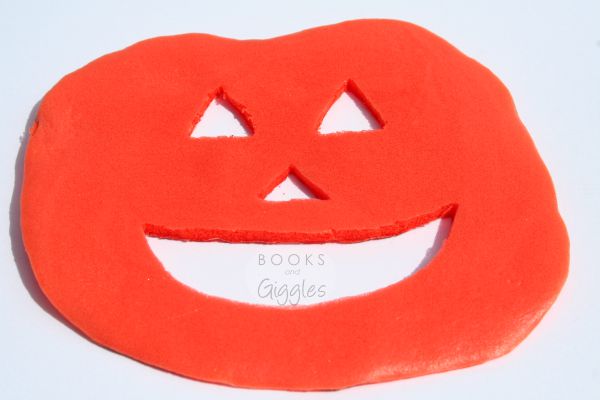
You Can Make a Puffy Paint Pumpkin!
“Mommy, what is this?”
I’d been doing a puffy paint pumpkin experiment while the kids were at school. My first attempt was not recognizable as anything to do with Halloween.
Instead, it was a sort of weird orange-ish salmon color. The second and third times, the color was better, but the texture was all wrong. It was thin and looked too much like an extra-thick coat of regular paint.
You see, when I first tried, I was using the method I’d used when I made Puffy Paint Thunderstorm Clouds. That only required a hint of color. But this time I was going for bright orange.
I decided to get more scientific about it, writing on waxed paper next to each version. The color started to look better, but the texture still wasn’t right.
I was using washable tempera paint for color. It seemed to be a practical choice.
We once had a bad experience with non-washable paint.
Nevertheless, washable wasn’t working here. I needed a more concentrated color. Looking around, all I could come up with was food coloring.
Success! It worked out just the way I’d hoped.
Supplies (makes 1 small pumpkin)
4 teaspoons of shaving cream
2 teaspoons of school glue
5 drops of red food coloring
5 drops of yellow food coloring
Waxed paper
Sharpie permanent marker
Sharp scissors or craft knife
Glue & glitter or glitter glue
Black Construction paper
Directions
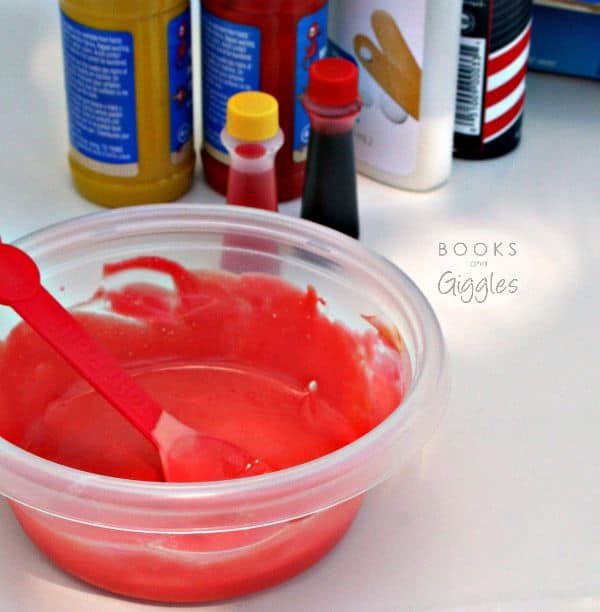
1. Mix the shaving cream and glue together in a bowl. Then drop in the food coloring and stir until the color is uniform. The color will darken as it dries, so don’t worry!
2. Tear off a sheet of waxed paper and draw a pumpkin on it with the Sharpie pen.
3. Paint thickly onto the pumpkin shape.
4. Let dry flat and undisturbed about 24 hours.
5. Using sharp scissors or a craft knife, cut out jack o’lantern face. I used my favorite scissors in the whole world (affiliate link), these little Cutter Bee Scissors .
.
(Books and Giggles is a participant in the Amazon Services LLC Associates Program, an affiliate advertising program designed to provide a means for sites to earn advertising fees by advertising and linking to Amazon.com)
6. To get the look in the picture, apply glue and glitter to black construction paper, and tape it to the back of the pumpkin.
I know, glitter is a mess. Isn’t it pretty though?!
Are you looking for more fun craft ideas to do with your kids? Follow me on Pinterest for loads of new projects.


What a cute pumpkin! I love the glitter in the mouth and eyes too!
Thank you! I had so much fun messing around with puffy paint. Even with kids off at school, I love playing with it 🙂
The dash of glitter is just right for this pumpkin. So cute. Thanks for sharing all your trials and errors. Saved us from making the same mistakes!
FarZain
@http://colorsofourrainbow.blogspot.ae/